


Use Time Machine with Your NAS (macOS)
Introduction
Time Machine is Apple’s built in backup system for macOS. It creates automatic, incremental backups of your files and applications, allowing you to step backward in time to recover previous versions or to restore a Mac after repair or replacement. Many households start with a single external hard drive connected to a Mac. As more Macs and iOS devices enter the home or office, a central NAS becomes an attractive alternative because it is always on, shared across the network, and provides redundancy at the storage layer.
This guide shows how to use Time Machine with a NAS. It explains how the technology works, how to configure your NAS and macOS, how to set smart quotas that keep storage under control, and how to test that your backups are usable. It also includes a section on the Australian context that covers bandwidth, energy costs and local best practices. The goal is a straightforward, reliable solution that fits into a broader backup plan rather than a single point of failure.
Contents
- Why use Time Machine with a NAS
- How Time Machine works on macOS
- Prerequisites and planning
- Setup overview for any NAS
- Platform specific steps
- Quotas and capacity planning
- Encryption and security
- Network performance tuning
- Wi‑Fi versus Ethernet
- Testing your backups
- Troubleshooting common issues
- Integrate Time Machine into a 3-2-1 strategy
- Australian context and practical tips
- Ongoing maintenance and health checks
- Conclusion
- FAQs
Why use Time Machine with a NAS
There are several reasons to point Time Machine at a NAS instead of a USB drive. You centralise management because the NAS can serve multiple Macs. You gain redundancy, because most NAS platforms offer RAID or copy on write file systems such as ZFS. You reduce clutter and the chance that someone forgets to plug in a drive. You can also combine the NAS with off site replication or a cloud bucket to satisfy the three copies principle of the 3 2 1 rule. If a laptop is lost or stolen, its backup remains on the server. For offices, this approach makes it easier to meet basic backup obligations and to perform routine test restores.
How Time Machine works on macOS
When you select a network share as a Time Machine destination, macOS creates a sparse bundle. This is a disk image that grows as data is added. Inside that image, Time Machine writes hourly backups for the last 24 hours, daily backups for the last month and weekly backups until the destination fills. The sparse bundle is uniquely identified per Mac, so multiple Macs can back up to the same shared folder without conflicts.
Historically Time Machine used AFP. Since macOS Big Sur, Apple recommends SMB. Modern NAS platforms provide SMB by default. You should disable AFP unless you have an older Mac that cannot use SMB. The NAS needs to preserve extended attributes and case sensitivity inside the sparse bundle. It should also support file locking correctly so that the image is not corrupted if the connection drops.
Prerequisites and planning
- macOS Ventura or newer on each Mac if possible. Monterey is workable. Older versions should still be able to connect via SMB 3 but may be less efficient.
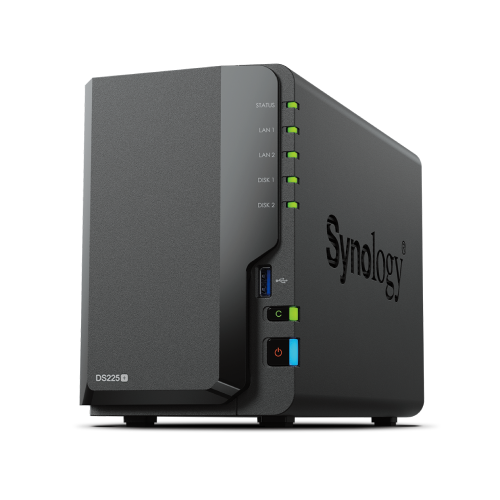
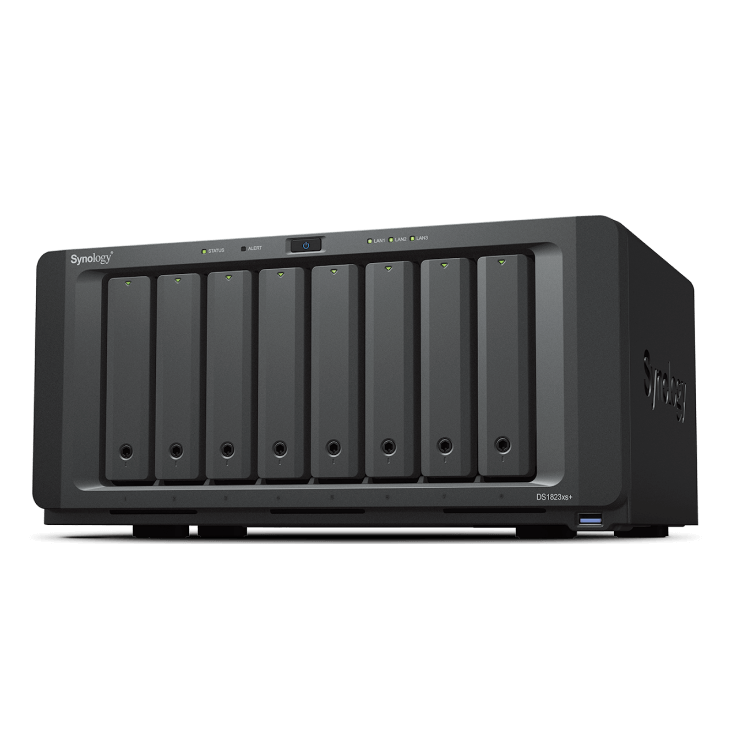
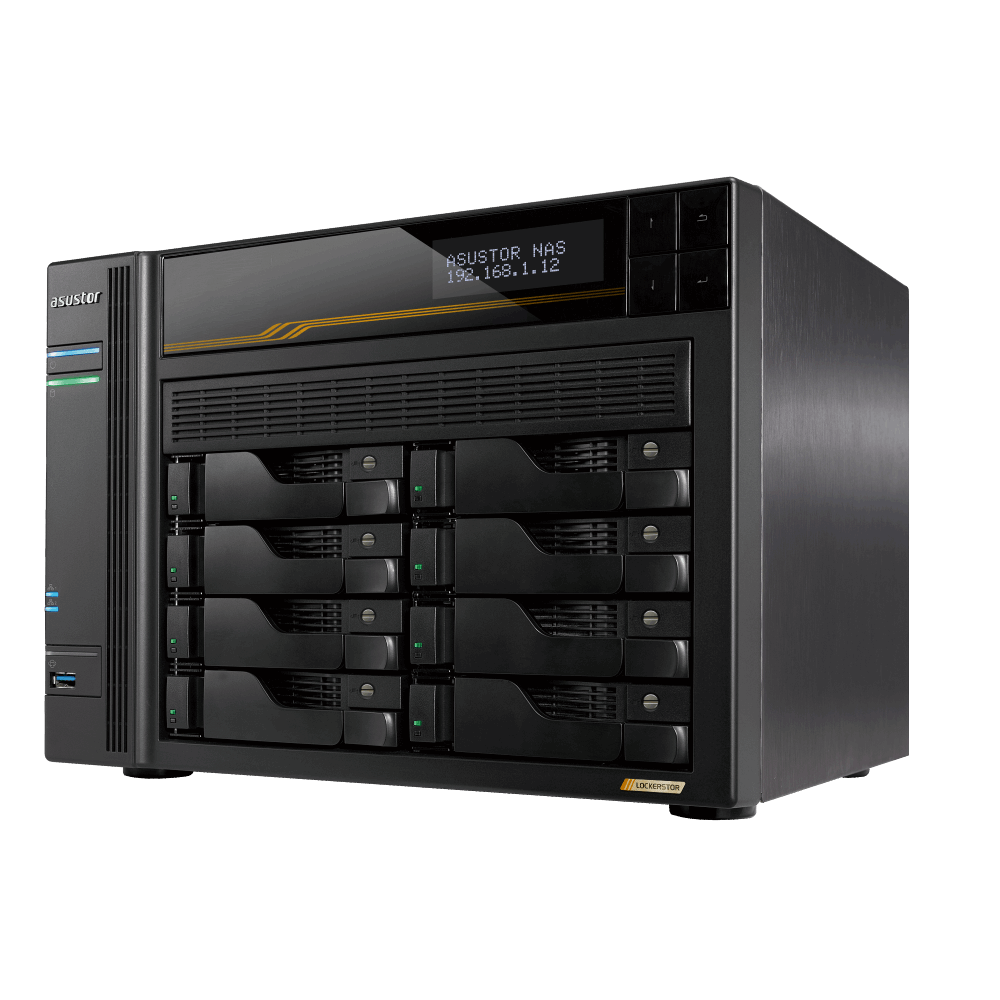
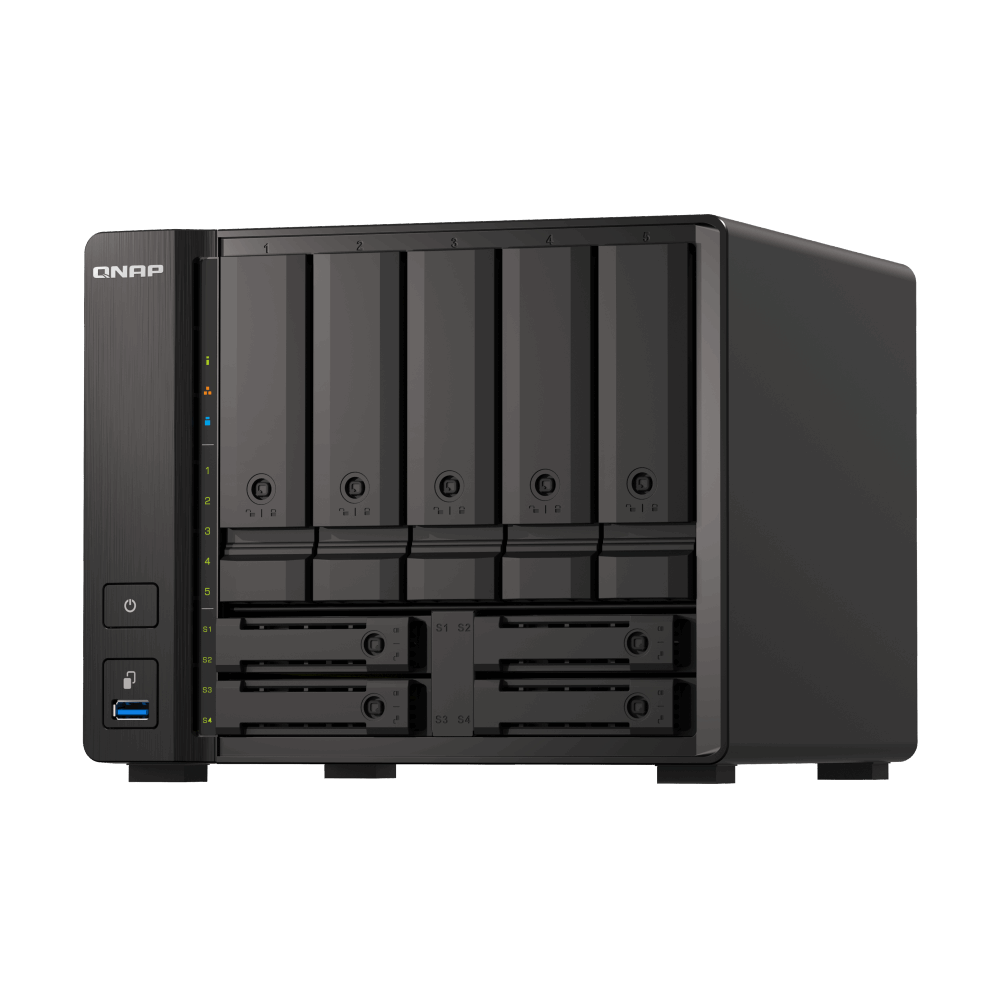
- A NAS with SMB enabled. Any modern two to four bay NAS is sufficient for small households. Creatives and businesses should consider six bays or more and 10 GbE networking.
- Enough free capacity. Plan for at least one to two times the internal SSD size of each Mac. Multiply by the number of Macs that will use the share.
- Stable Wi Fi 6 or wired Ethernet. Backups work over Wi Fi, but wired links are faster and more predictable for the initial run.
- An administrator account on the NAS and a dedicated backup account per Mac to simplify tracking and quota management.
- A plan for off site copies to align with the 3 2 1 rule. For example, replicate the Time Machine share to another NAS, or copy key data to a cloud bucket.
Setup overview for any NAS
- Enable SMB on the NAS and set the minimum SMB version to 2.0 or 3.0.
- Create a dedicated shared folder for Time Machine backups. Avoid mixing backups with general documents.
- Create a dedicated user for each Mac, or a shared account if you will use folder quotas.
- Apply a quota that suits the Mac. Start with 1.5 times the Mac’s internal drive size, then adjust as you learn the change rate.
- On macOS, open System Settings then Time Machine and select the NAS share as the backup disk. Choose to encrypt the backups for protection.
- Allow the initial backup to complete. This may take many hours. Leave the lid open on laptops and disable sleep temporarily for the first run.
- Test file restore with a small document and verify that you can browse snapshots.
Platform specific steps
Synology DSM
Open Control Panel and enable SMB with SMB 2 or SMB 3. Create a shared folder named TimeMachine. In File Services, enable the Time Machine option and select the new folder as the destination. Create a user account for each Mac and assign permissions to that folder. Apply a user quota or a shared folder quota depending on how you prefer to limit growth. On the Mac, pick the Synology share in Time Machine and start the backup.
Synology DSM provides a simple toggle labelled Time Machine support that configures the necessary Bonjour advertisements for discovery. If your Mac does not see the NAS, connect manually by pressing Command K in Finder and entering smb://nasname.local or the NAS IP address. Once you mount the share, return to Time Machine and it should appear as a selectable target.
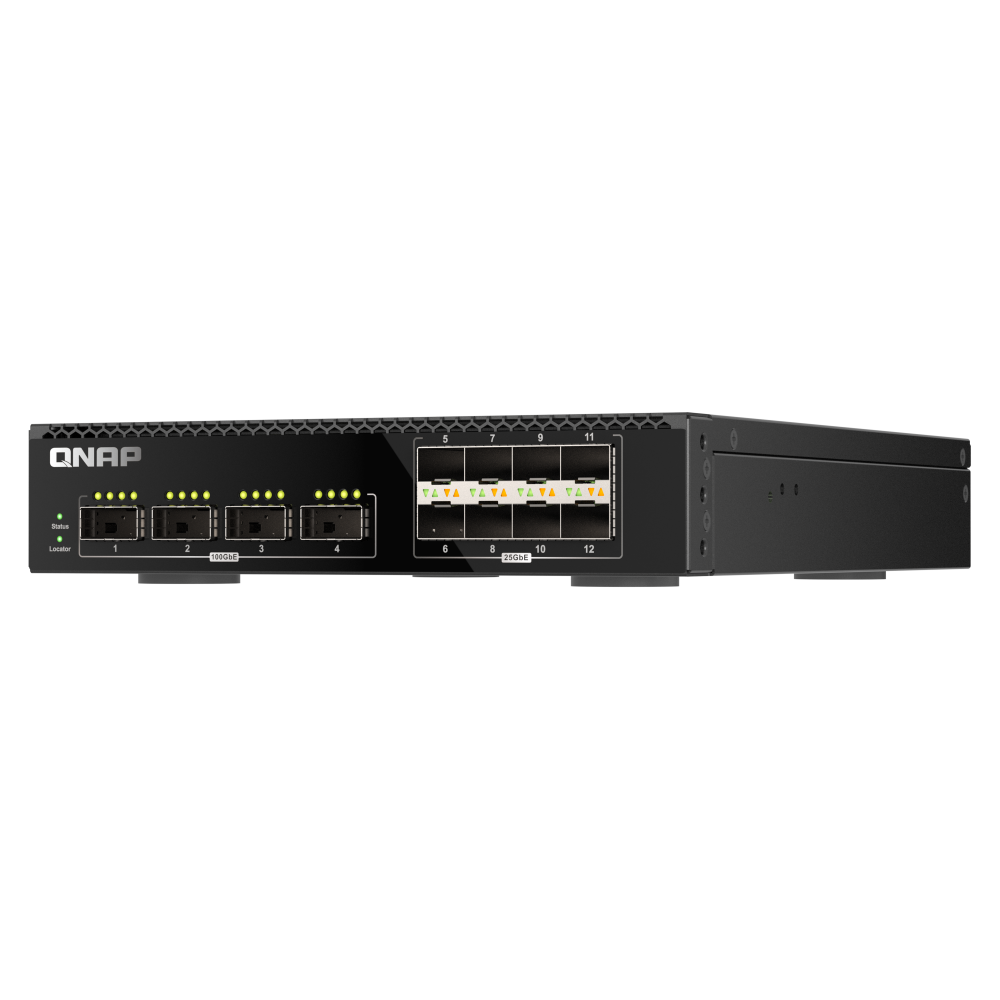
QNAP QTS and QuTS hero
Open Control Panel and enable Microsoft Networking. Create a shared folder called TimeMachine. In Hybrid Backup Sync or in Network and File Services, enable the Time Machine service and select that folder. Create a dedicated user per Mac and set a user quota. If you use QuTS hero with ZFS, consider using a dataset with a quota to hard limit usage. On the Mac, select the QNAP Time Machine target and choose to encrypt the backup.
QNAP users should avoid AFP unless supporting very old Macs. Ensure the NAS is updated, because SMB performance and stability have improved with recent firmware. For best results on large first backups, connect the Mac to Ethernet through a USB C or Thunderbolt adapter and connect the NAS to the same switch. Disable sleep until the first pass finishes.
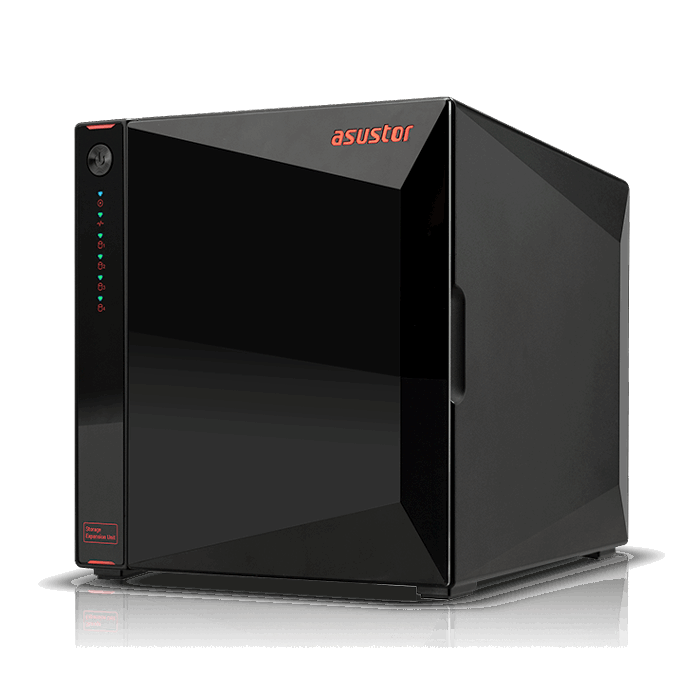
Asustor ADM
Enable SMB under Services and create a folder called TimeMachine. In Access Control, create a backup user and grant the user read and write permissions to the folder. If ADM offers a Time Machine toggle, enable it so that Bonjour advertisements work. Apply a quota at the user or folder level so that the share cannot expand indefinitely. Select the Asustor target from Time Machine on macOS and begin the first backup.
Asustor users working with media should consider 2.5 GbE or 10 GbE models and wired links for the first backup. ADM snapshots are helpful to protect the shared folder from accidental deletion or ransomware, although snapshots are not a substitute for off site backups.
TrueNAS CORE and SCALE
Create a dataset for Time Machine. Enable SMB and add a share pointing at that dataset. In the dataset properties, set a quota that matches your capacity plan. Consider enabling periodic snapshots to protect the dataset from accidental changes. Create a user for each Mac and grant access to the share. On your Mac, select the share in Time Machine. TrueNAS with ZFS provides robust integrity checks through checksums, which is helpful for long lived backups.
If discovery does not work, connect to the share manually using smb://nas or smb://ip address. Once it is mounted in Finder, Time Machine usually displays it as an option. If not, choose Select Disk and pick the mounted share from the list.
Unraid
Create a share called TimeMachine and set Use cache to Yes or Prefer so that the initial backup lands on SSD cache for speed, then migrates to the array. Enable SMB and set Export to Yes with Security set to Private. Create a user and assign read and write access. Set a share size limit by using the allocation method and split levels or with plugins that provide quotas. From macOS, choose the share in Time Machine and start the backup. Monitor mover behaviour to ensure that the sparse bundle is not constantly shuffled during active backups.
Quotas and capacity planning
Time Machine is a space consumer. It expands until it hits the quota or the target is full, then prunes old snapshots. Without a quota, a single Mac can fill a NAS that hosts family photos, business documents and media. A realistic starting point is 1.5 times the internal SSD size of each Mac. If a Mac has a 512 GB SSD, allocate a 750 GB quota. Heavy creative workflows that ingest many gigabytes per day might justify two to three times the SSD size.
There are several ways to implement quotas. Shared folder quotas are simple to manage if you dedicate one folder per Mac. User quotas are convenient if all Macs use a single Time Machine share. ZFS dataset quotas are precise and reliable on TrueNAS or QuTS hero. Whichever method you choose, write down the reason for the number so you can revisit it during maintenance. Quotas are not permanent decisions. As your storage pool grows, you can adjust them.
Remember that Time Machine excludes some caches and temporary files by default. You can add exclusions in the Time Machine options if a workspace produces large transient data that does not need to be backed up, such as a video render cache. Excluding unnecessary data reduces churn and network traffic.
Encryption and security
Backups contain private documents, photos, financial records and credentials. Encrypt Time Machine backups whenever the Mac supports it. When you select a network target, Time Machine offers an option to encrypt the disk image. Choose a strong passphrase and store it in your password manager. Without encryption, anyone with access to the NAS share could mount the sparse bundle and browse the contents.
On the NAS, create unique accounts per Mac rather than sharing a single account. This isolates access and makes it easier to troubleshoot. Restrict the Time Machine share so that only those accounts can connect. Avoid exposing SMB to the internet. If you need remote access, use a VPN. Keep the NAS firmware and the Mac up to date to benefit from security fixes. Attach the NAS to a UPS to reduce the chance of corruption during power losses.
Network performance tuning
Network speed determines how pleasant Time Machine feels day to day. The first backup copies the entire Mac, so plan to run it over Ethernet. A USB C to Ethernet adapter is inexpensive and will save many hours. If you have a 2.5 GbE or 10 GbE capable NAS and switch, use it. Even at 1 GbE, the full duplex, low latency link makes a visible difference compared with congested Wi Fi.
On the NAS, enable SMB multichannel if your platform supports it and you have multiple network interfaces. Avoid aggressive power saving features on the NAS that spin down disks during backup windows. If you use SSD cache, make sure the cache is large enough to absorb the change rate during active workdays. On the Mac, disable sleep for the first backup and set Energy Saver so that the Mac remains awake during scheduled windows.
Wi-Fi versus Ethernet
Wi Fi is convenient and perfectly adequate for incremental backups after the first run. Wi Fi 6 routers provide much better performance than older models. Place the router in an open, central location and avoid dense walls between the Mac and the access point. If you are frequently working with large files, consider a desk dock with Ethernet. For shared offices, wiring a handful of desks for Ethernet often reduces help desk noise because backups complete quickly and predictably.
Testing your backups
A backup is only useful if you can restore from it. Build a simple routine that includes both quick checks and deeper drills. After the initial backup completes, open Time Machine and browse to a file from yesterday. Restore it to a test folder and compare it with the live copy. Once a month, restore a small project folder and open the files to confirm they are intact. Once a quarter, simulate a disaster by restoring a user profile or even a whole Mac in a lab setting.
Keep a small log that records the date, what you restored and any issues you found. If you see errors such as the sparse bundle not mounting, fix them while it is a test rather than during a crisis. Most NAS platforms keep logs of SMB disconnections or permission problems. Reviewing these after a test helps you identify network flaps or user errors before they grow into a pattern.
Troubleshooting common issues
macOS cannot find the NAS
Mount the share manually by opening Finder and pressing Command K. Enter smb://nasname or smb://ip address, authenticate, then return to Time Machine and select the mounted share. If Bonjour discovery is disabled on the NAS, manual mounting is the easiest workaround.
Backups are very slow
Use Ethernet for the first run. Check that the NAS and switch ports are negotiating at the expected speed. Replace old cables. On Wi Fi, switch to the 5 GHz or 6 GHz band and move closer to the access point. Disable automatic power saving on the NAS during backup windows so disks remain spun up.
The sparse bundle is corrupted
This can happen after power loss or an abrupt disconnect. Try repairing the image with Disk Utility by mounting it manually from the NAS share. If that fails, create a new backup. Do not keep using a corrupted image. The time you save by trying to coax it along is lost the next time you need a restore.
Quota reached too quickly
Review exclusions in Time Machine options. Large caches, virtual machines and render outputs can explode backup sizes. Increase the quota only after trimming unnecessary data. If your work genuinely requires more space, add capacity to the NAS pool and adjust the quota with a written note explaining why.
Backups pause on laptops
Backups pause when a laptop sleeps. For large initial runs, keep the lid open and connect power. For day to day use, incremental updates will complete when the laptop is awake and connected to the network. If the delay is annoying, schedule a weekly desk session with Ethernet.
Integrate Time Machine into a 3-2-1 strategy
Time Machine to NAS should be part of a broader data protection plan. The 3 2 1 rule states that you should keep three copies of your data, on two different types of storage, with one copy stored off site. In practice this means the live copy on the Mac, a Time Machine copy on the NAS and a third copy somewhere else. That third copy can be a rotating USB drive that lives at a relative’s house, a second NAS at another office or a cloud bucket such as Backblaze B2 or Wasabi. Pair this with routine test restores and you have a resilient setup that survives common risks such as accidental deletion, ransomware and device theft.
For a deeper walkthrough of the principle and example recipes for home users, photographers and small businesses, see 3-2-1 Backup for NAS. If you are still choosing hardware, see How to Choose a NAS in Australia for practical advice on drive types, RAID, networking and expansion.
Australian context and practical tips
Many Australian homes and small businesses rely on NBN plans with modest upload speeds. If you plan to replicate your Time Machine share to the cloud, budget for a plan that offers at least 40 Mbps upload and preferably more. For households that only need local protection, a rotating USB drive kept off site is a simple and cost effective third copy. Energy costs are another consideration. A small NAS draws between 30 and 80 watts. Over a year this can add up, but it remains lower than the cost of losing family photos or customer records. Schedule intensive tasks such as replication and scrubs during off peak periods to minimise impact.
Physical security matters. Keep the NAS in a well ventilated, non obvious location. Attach it to a UPS and label the power circuit so that cleaners or contractors do not turn it off. Write a small card with steps to follow during an outage and store it near the NAS. Include your ISP account details, the router admin password, the NAS admin credentials and a phone number for the person responsible. During a stressful incident, having this information at hand prevents mistakes.
Ongoing maintenance and health checks
Good backups are the result of small habits. Once a month, open Time Machine on each Mac and browse to a random date. Restore a file to a test folder. Check the NAS dashboard to confirm the backup job ran recently and that quotas are not exceeded. Once a quarter, run a deeper drill that covers a full user profile restore or a device migration. Keep a simple log in a shared document so the team can see that checks are done. Replace ageing USB drives on a two to three year cycle if you use them for off site rotation.
Monitor NAS health. Configure email alerts for disk SMART errors, pool degradation and high temperatures. Update the NAS firmware during maintenance windows after reading the release notes. Apply macOS updates to stay current with SMB improvements. Review the list of users who can access the Time Machine share and remove accounts that are no longer needed.
Conclusion
Time Machine to NAS is a practical way to protect multiple Macs at home or in a small business. By creating a dedicated share, enforcing sensible quotas and securing the connection with encryption, you gain a set and forget workflow that integrates cleanly with other data protection layers. The first backup should be done over Ethernet. After that, incremental updates fit comfortably into the background of everyday work. Test restores regularly and fold the Time Machine share into a 3 2 1 plan that includes an off site copy. With these habits in place, you will be able to recover quickly from accidental deletion, device failure or theft and you will avoid the false confidence that comes from untested backups.