


Router Port Forwarding vs VPN for Synology in Australia: What to choose
Reach your NAS from outside without nasty surprises. This guide compares two common paths and shows where each makes sense.
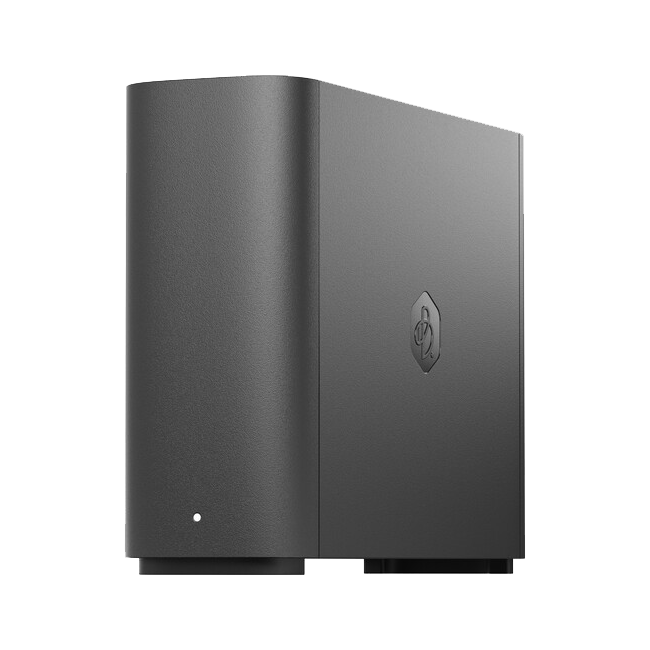
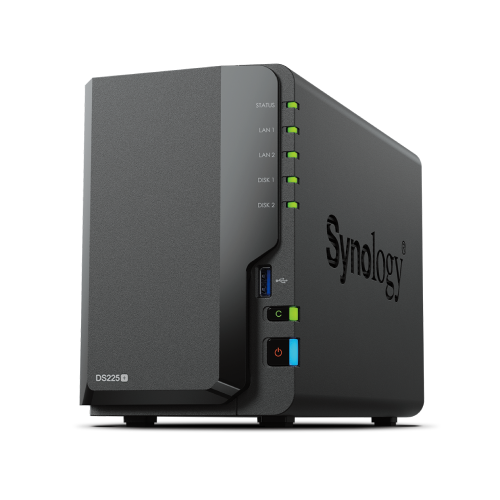
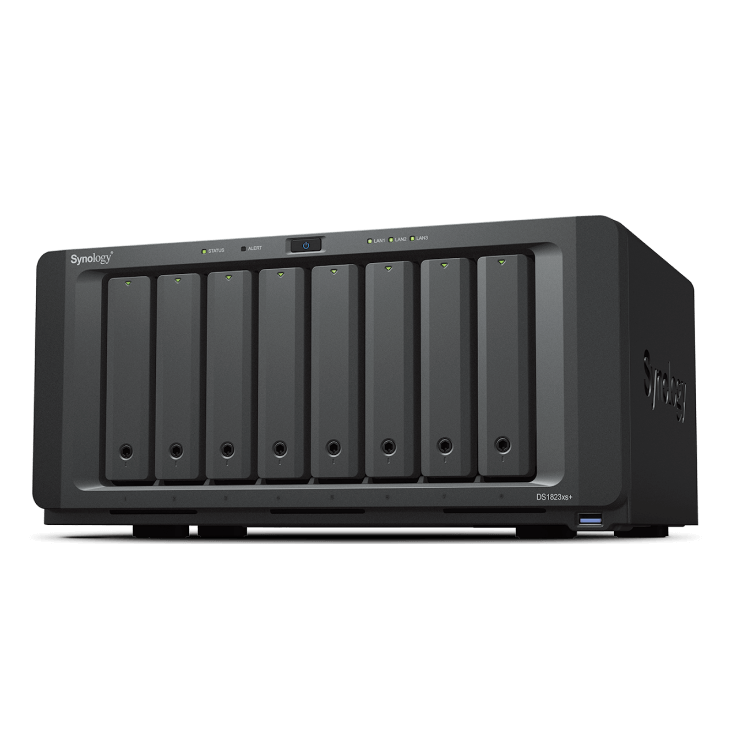
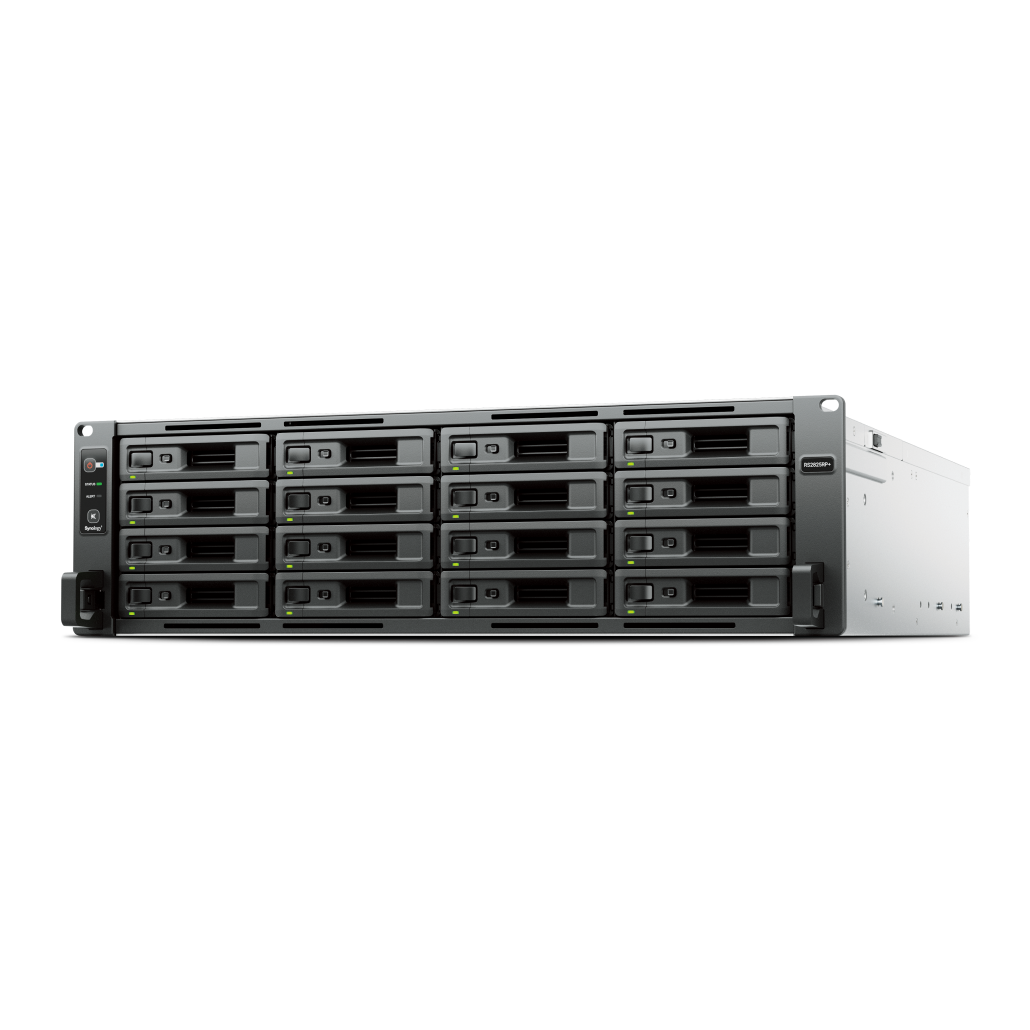
See Synology NAS range
Explore models suited to home, creators, and small business in Australia.
Browse SynologyOverview
Remote access is convenient, but you should decide how to expose services with care. Port forwarding publishes a specific port on your router to the NAS. A VPN builds an encrypted tunnel and keeps services private on internal addresses.
What is port forwarding
A router maps an external port to an internal host and port. It is easy to set up and works with almost any device. The trade off is exposure: anyone on the internet can reach the service and attempt to sign in.
- Simple to configure on most routers
- No extra software needed on client devices
- Highest exposure and frequent scanning by bots
What is a VPN
A VPN creates a private tunnel between your device and the office network. Once connected, you reach the NAS as if you were on site. This adds a sign in step at the network edge and reduces the attack surface.
- Encrypts traffic end to end
- Restricts who can even see the NAS
- Requires a client app or router support
Comparison and risks
Port forwarding is fast to deploy but carries higher security risk. VPN takes a little more planning, but limits exposure and centralises access control.
- Port forwarding - simple and direct, but vulnerable to password guessing and exploits if services are unpatched
- VPN - extra step for users, but safer defaults and easier to audit
- Both approaches still need strong passwords and updated DSM
When to use each
Choose based on how many users you have and what you are publishing.
- Small family access to Photos - VPN preferred, keeps uploads private
- Business file access - VPN or site to site, plus reverse proxy for selected apps
- Temporary testing - limited port forward with strict firewall rules, then remove
Planning and prerequisites
Decide on addressing, DNS, and accounts before rollout.
- Avoid overlapping subnets for site to site links
- Create a VPN users group with least privilege
- Use internal DNS names so laptops find the NAS cleanly
Setup outlines
Two quick paths work well for most homes and small offices.
- Router VPN - configure a client or site to site tunnel on the router and test access to the NAS subnet
- Synology VPN Server - enable the package, create profiles, distribute configs to users
- If you must port forward - restrict to HTTPS only, use non default external ports, and enable auto block
Troubleshooting checklist
If a client connects but cannot see shares, focus on routing and DNS.
- Confirm routes to the NAS subnet are pushed to clients
- Check DNS suffix and search domain so hostnames resolve
- Verify the NAS firewall allows the client subnet
FAQs
Quick answers for planning and sign off.
- Will a VPN slow copies - minor overhead, usually acceptable
- Do I need a static IP - dynamic DNS is fine for many homes
- Can phones use VPN - yes with platform client apps
Need technical support or more detailed guidance? Please contact Synology via our Synology Support – Australia page. It includes ticket, Live Chat, warranty and downloads links.